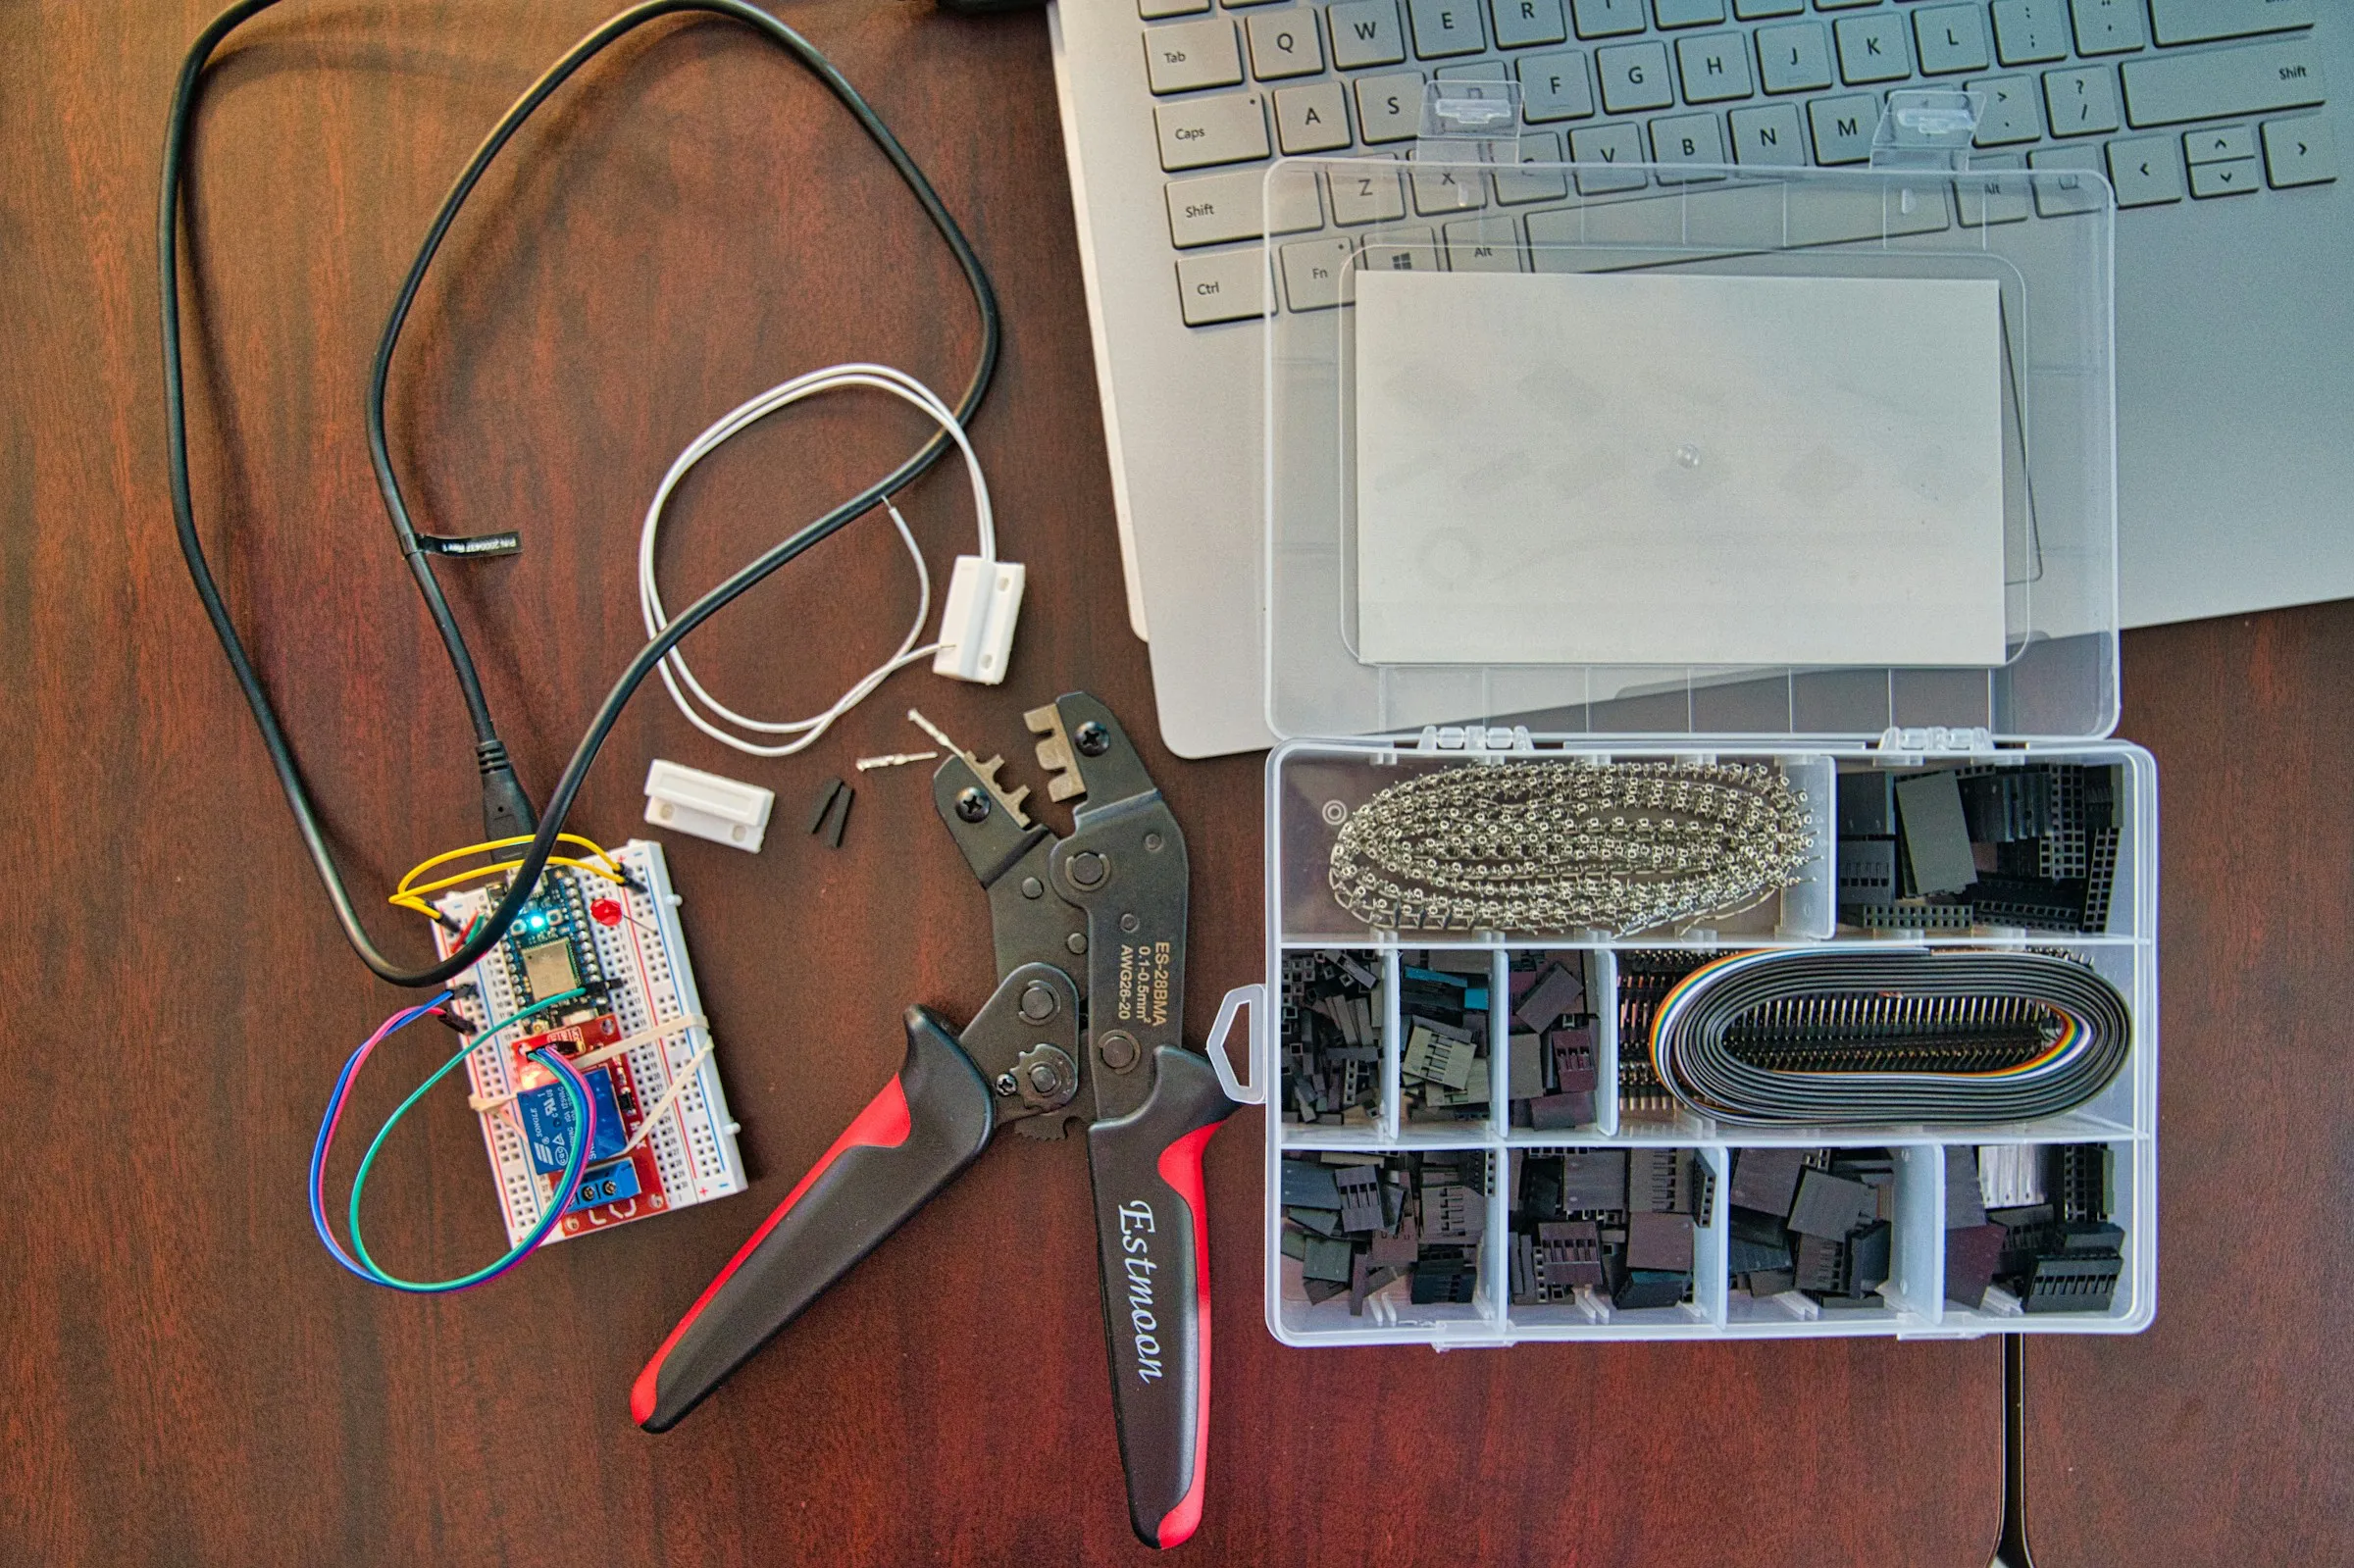
Fixing your own laptop might seem intimidating, but with the right tools, it’s completely doable. Whether you’re replacing a battery, upgrading RAM, or fixing a keyboard, having a well-prepared repair kit saves time, money, and stress. Here’s a breakdown of the essential tools every DIY laptop repair enthusiast should have in their arsenal.
Precision Screwdriver Set
Laptops use tiny screws in a variety of sizes and heads. A precision screwdriver set with magnetic tips is a must-have to remove and reinstall these fasteners without damaging components. Look for sets that include Phillips, Torx, and flat-head bits for maximum compatibility with different devices.
Anti-Static Wrist Strap
Static electricity can easily damage delicate laptop components. An anti-static wrist strap grounds you while working, preventing accidental zaps to your motherboard or RAM. Just clip it to a metal part of your workstation and wear it on your wrist during any repair or upgrade.
Opening Tools and Spudgers
Prying open a laptop case without the proper tools can lead to cracks, bent edges, or internal damage. Plastic spudgers, guitar picks, and opening wedges are specially designed to help you gently open your laptop without scratching or breaking the casing. These tools make disassembly much safer and more efficient.
Must-Have Items in a Basic Repair Kit
One of the most helpful investments you can make is a comprehensive laptop repair kit. Here are six must-have items to include:
- Precision Screwdrivers: For removing various screws.
- Plastic Spudgers: For prying open cases safely.
- Tweezers: To handle small components and screws.
- Anti-Static Wrist Strap: To protect sensitive electronics.
- Thermal Paste: If you’re replacing or reseating a CPU.
- Small Container or Magnetic Mat: To organize screws.
These items allow you to handle everything from screen replacements to battery swaps with confidence. You don’t need to spend a fortune—many repair kits come bundled with all the essentials for under $30.
Proper Lighting and Workspace Setup
A well-lit, organized workspace can make a huge difference in your repair experience. Poor lighting can cause you to miss screws or misplace components. A desk lamp with adjustable brightness is ideal. Make sure your work area is clean, static-free, and spacious enough to lay out tools and parts.
Cleaning Supplies for Maintenance
Laptop repair isn’t always about fixing broken parts—it’s also about preventive maintenance. Dust buildup can clog fans and overheat internal components. Having a soft brush, microfiber cloth, and can of compressed air on hand helps keep your laptop clean and running smoothly. Regular maintenance can extend your device’s lifespan and prevent costly repairs.
Online Resources and Repair Manuals
Before opening your laptop, it’s crucial to consult a detailed repair guide. Many manufacturers provide official service manuals, and websites like iFixit offer free step-by-step tutorials for countless laptop models. These guides show you how to disassemble your laptop correctly, identify components, and reassemble it without missing a step.
Conclusion: Fix It with Confidence
With the right tools and preparation, DIY laptop repair becomes a manageable—and even rewarding—experience. Investing in a basic toolkit and understanding the steps involved can save you from expensive trips to the repair shop. Start small, follow trusted guides, and build confidence as you go. Your future self (and your laptop) will thank you.

Leave a Reply